Bread baking is one of the most enjoyable types of baking to master. It is very fulfilling to mix a few ingredients (flour, water, yeast, and salt) and end up with a warm, crusty, fragrant loaf of bread. With a good comprehension of the basics, you can reliably bake bread, solve problems that arise, and successfully explore the wide range of bread options available. Here is what every home baker should know:
What is Yeast and How Does it Ferment?
Most breads rely on yeast for fermentation, which creates the carbon dioxide bubbles that cause the dough to rise and impart flavor. The three most commonly available yeasts are active dry yeast, instant yeast, and fresh yeast. They are used somewhat differently.
Temperature and time for fermentation affects not only the texture but also the flavor of the dough. A slower, cooler fermentation yields a more complex, tangy flavor and a faster, warmer rise yields a softer, more neutral flavor. Mastering fermentation is crucial to making consistent, flavorful bread.
Here are the ingredients you will need:
Bread is one of those foods that can be made with as few as 4 ingredients: flour, water, yeast, and salt. And they all serve a purpose.
STRUCTURE: Flour contains protein which combines with water to make gluten, which helps dough to expand when yeast fermentation occurs. High protein flours make chewy, elastic breads. Low protein flours make soft breads.
Water: Moistens the flour and rehydrates the yeast. The amount of water determines the dough’s texture and crumb density.
The yeast ferments and gives off carbon dioxide gas bubbles, and also adds flavor to the dough.
Salt adds flavor, improves the gluten structure, and controls yeast fermentation.
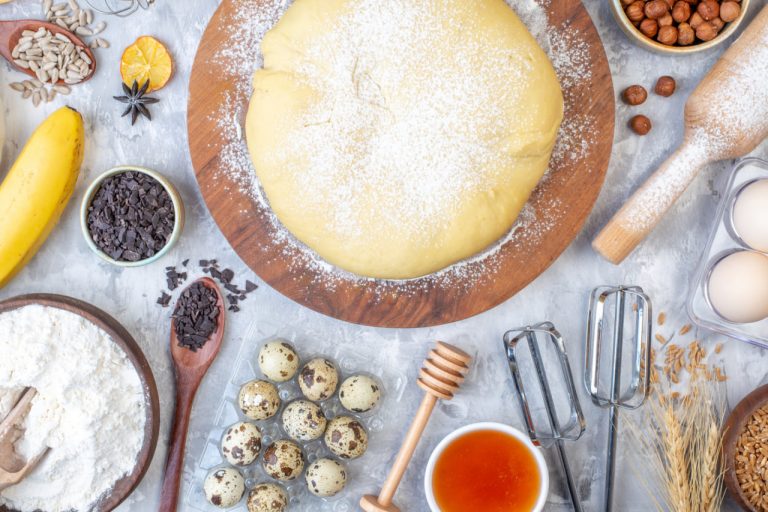
Other ingredients such as sugar, fats, milk, eggs, etc. will influence taste, texture, and crust as well, but the basics of the four ingredients are a must to learn before playing around.
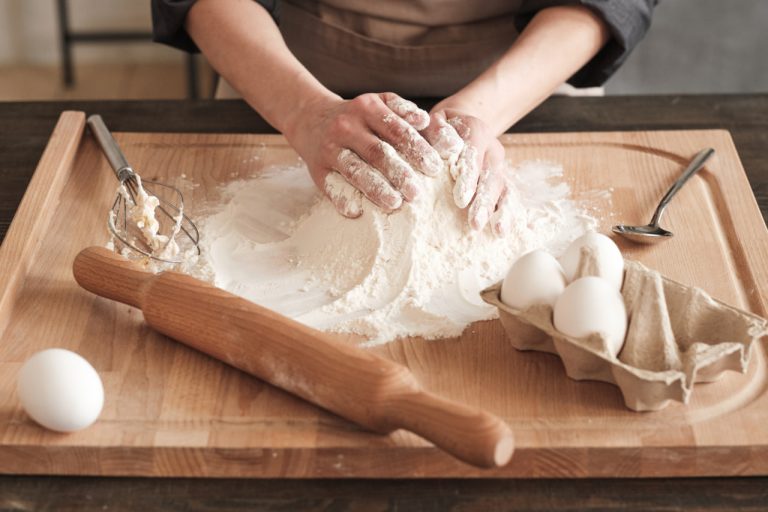
The Mixing and Kneading Process. Mix all ingredients together for 10 minutes in a big mixing bowl until smooth. Knead for 20 minutes.
Mixing and kneading are important to form the gluten. You should end up with a dough that’s smooth and elastic, and very slightly sticky to the touch. Too much kneading will lead to a tough bread, too little kneading will lead to a dense, flat bread.
The approach ranges from simple hand kneading to the stretch and fold for higher hydration doughs. If you are kneading even briefly, you will have developed enough gluten by the time the dough has completed its extended fermentation. You will also have an idea of how the dough should look and feel and will be able to gauge whether it is ready, based on more than just the time.
Shaping and Proofing
Correct shaping after kneading helps in achieving a uniform crumb and good looks. There are different ways of shaping for round loaves, baguettes and rolls, which influence the crumb and rising of the bread.
Proofing (or final rise) is when you let the dough rise before you bake it. If you under proof the dough, it will be dense, if you over proof it the bread will fall. Instead of using time to judge when you should proof your bread you should proof until the dough has reached the desired elasticity, volume, and density.
Time to Score and Bake
Scoring is the process of making cuts on the surface of the dough prior to baking. It enables the dough to open up during baking and provides a nice professional appearance. The length, depth and angle of the score will determine how the bread opens up in the oven.
Temperature and conditions. Temperature influences the texture of the crust, crumb, and the color. A hot oven with some steam produces a crusty exterior and a soft interior. A stone or Dutch oven adds to the crust.
Common Bread-Making Issues
Here are some common problems that many home bakers experience as well. A dense loaf of bread can be a result of under-kneading, yeast that hasn’t been properly activated or an under-proofed bread. A deflated loaf is usually proofed for too long or too much liquid. An irregular crumb is either shaped badly or fermentation didn’t happen evenly.
Some things just take patience, time and observation to fix. If you keep a journal of what ingredients you used, what temperature and what the time was, it will help you figure out where you went wrong.
Further Methods to Consider
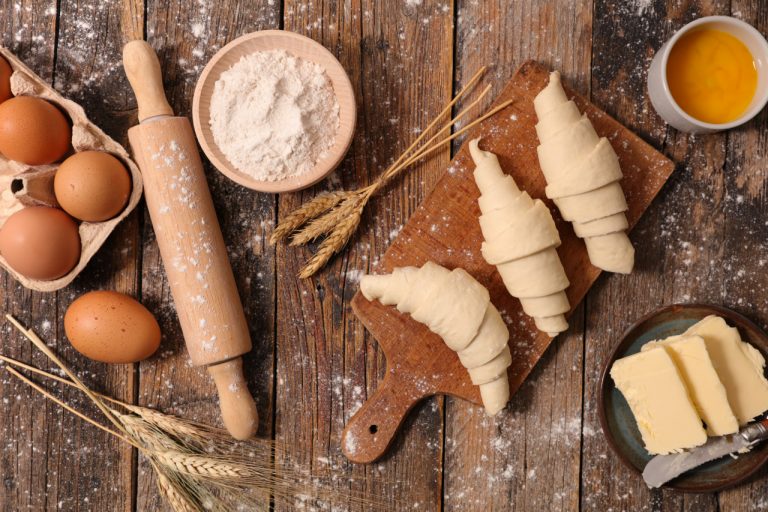
After mastering the fundamentals of bread baking, you can move on to the next level. Sourdough breads use a wild yeast starter, involve a longer fermentation period, and have a richer, more intricate flavor. Enriched breads — made with additional ingredients like eggs, butter, or sugar — produce a softer, more delicious bread. Laminated doughs (such as croissants or Danish) involve layering, folding, and rolling the dough, which requires a more delicate touch.
Furthermore, being able to add different grains, seeds and flavorings means that home bakers can customize their bread recipes and develop their own signature loaves. But knowing the basics guarantees that these experiments will be enjoyable, not disappointing.
However, if you practice often enough, you will eventually gain confidence.
Bread making is a combination of science and art. Once you get the fundamentals right, you can make modifications to recipes, try new techniques, and troubleshoot issues on your own. With each loaf, you gain more knowledge, instinct, and expertise.
While it takes patience, time, and practice, a little guidance and the right tools can lead to a lifelong passion for creating homemade bread that’s both delicious, beautiful, and rewarding to produce. Master the basics and soon you’ll be churning out beautiful country breads, soft sandwich loaves, and artisanal masterpieces.